Message to participants
In this article, learn how you can use e-guma to send an email to the participants of one or more events, or to single ticket types. This function is particularly helpful if you would like to send additional information to the participants or if you need to notify them of a postponement/cancellation.
In this article
Send message to participants
- 1
- Select in the browser Attendees -> Message to participants.
- 2
- In the top right-hand corner, click on the blue button Add.
-

- 3
-
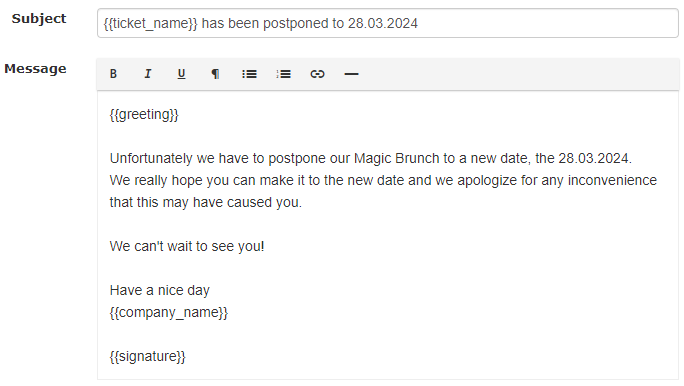
A new input mask will now appearIn the first field Description, enter a title that is clearly recognizable for internal use.
-


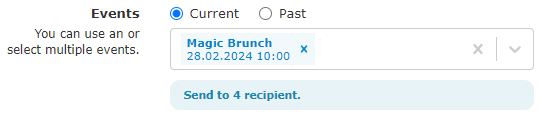
If you select an admission with calendar, you will be asked to enter a start period (ticket date). You can only select one admission with a calendar at a time.

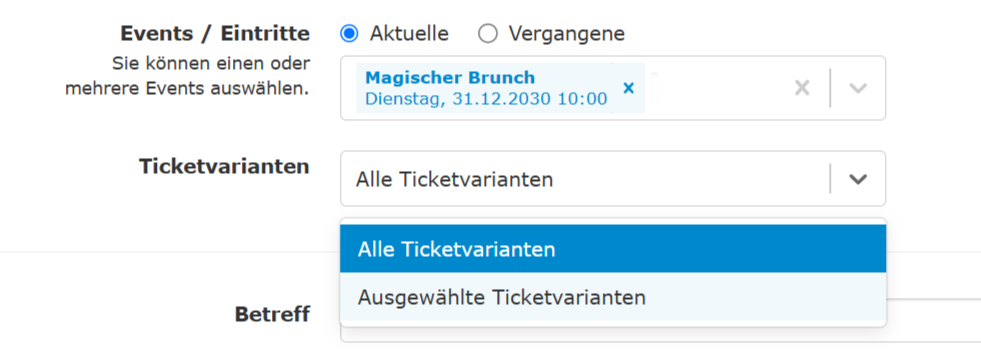

This option is especially useful for events with a postponed date; it allows you to send a new ticket with the new date to all participants with your message. Here you can learn how to postpone an event date.
You can set that if further orders are received after the messages have been sent, the message will also be sent to them after the purchase has been completed.
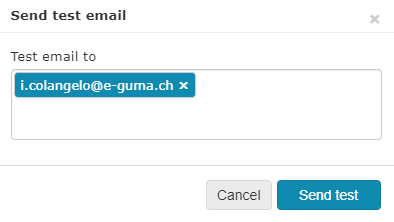
Before the emails can be sent you must confirm that this message is not an advertisement. This confirmation is required because participants are contacted who have not necessarily given their consent to receive a newsletter. Once you have confirmed this, you can click on the Send button.
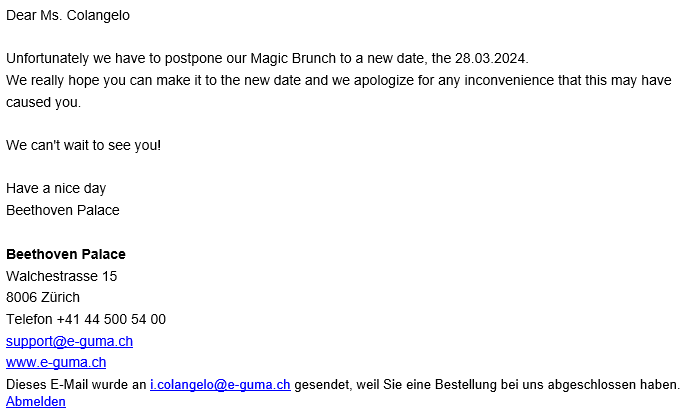
An addendum automatically appears in the footer. By clicking on the link unsubscribe, customers can unsubscribe from future messages.

Evaluation of the messages sent
Once the messages have been sent, you can open the evaluation page. The sending of the e-mails is tracked so that you can check at any time whether the e-mail has been opened or not. Tracking may not be supported in certain email programs.
On the evaluation page, you can also set that if further orders are received after the messages have been sent, the message will also be sent to them after the purchase has been completed.

Possible error messages
When you send a message, you may get the following error messages, which are marked in red in the field State:
- E-mail address is missing (E-mail is missing)
- Invalid e-mail address (Invalid E-Mail)
- The client has unsubscribed from notifications (Signed out)
By hovering over State, a detailed description of the error message appears.

Order history
The sending of the message is also displayed in the order history (in order management):
