Seating plan designer
In this article
With the seating plan designer you can create a seating plan, name the seats, and assign a category to the seats.
General information
Save
Changes to the seating plan are automatically saved.
Undo
If you wish to reverse a change, you can click on the arrow pointing to the left.
Close
When you have finished editing the seating plan, click on the close button, which is located to the upper left.

Reference chart
Upload an image of your seating plan as a reference chart to create an accurate representation of your seating layout. Seats.io provides the option to scan the image and automatically capture individual seating chart elements.

Accessibility
In the seating plan designer, a seat can be configured as wheelchair accessible. In addition, the adjacent seat can be defined for the accompanying person. The latter can only be selected during booking if the wheelchair-accessible seat has been chosen beforehand. If only the wheelchair-accessible seat is booked, the companion seat is available to everyone.

Rows
Draw rows
Select the row tool symbol on the left and then click in the drawing area. You can then determine how many rows and how many seats you need per row.

Expand or reduce rows
Delete rows
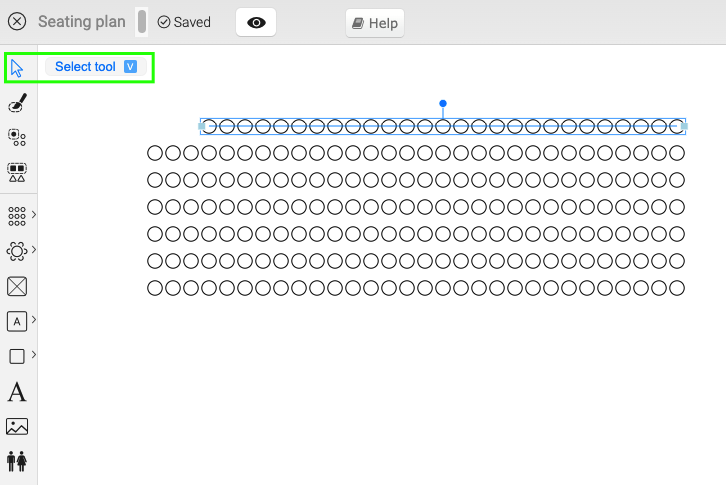
Click on the select tool and select one or more rows. Click on the waste basket symbol to the upper right.
Bend rows
Click on the Select tool on the left and select one or more rows. Enter a suitable value for the curve.
Name seats
Click on the Select tool and select the rows. On the right you can set the numbering for the rows and seats. You can also specify a section label - which is very helpful in the case of multiple sectors.

Assign a category to seats
Click on the seat selection tool and select the seats to which you want to assign a category. If there is no category present, you can click on Manage under category to the right and create a new category. You can then click on the category you have created to assign it to the selected seats.

Tables
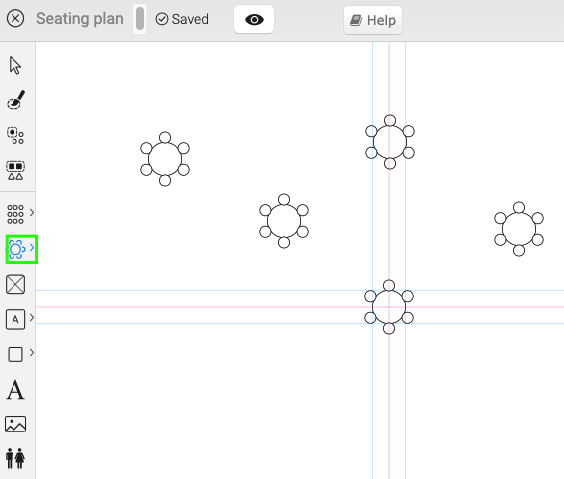
Draw tables with seats
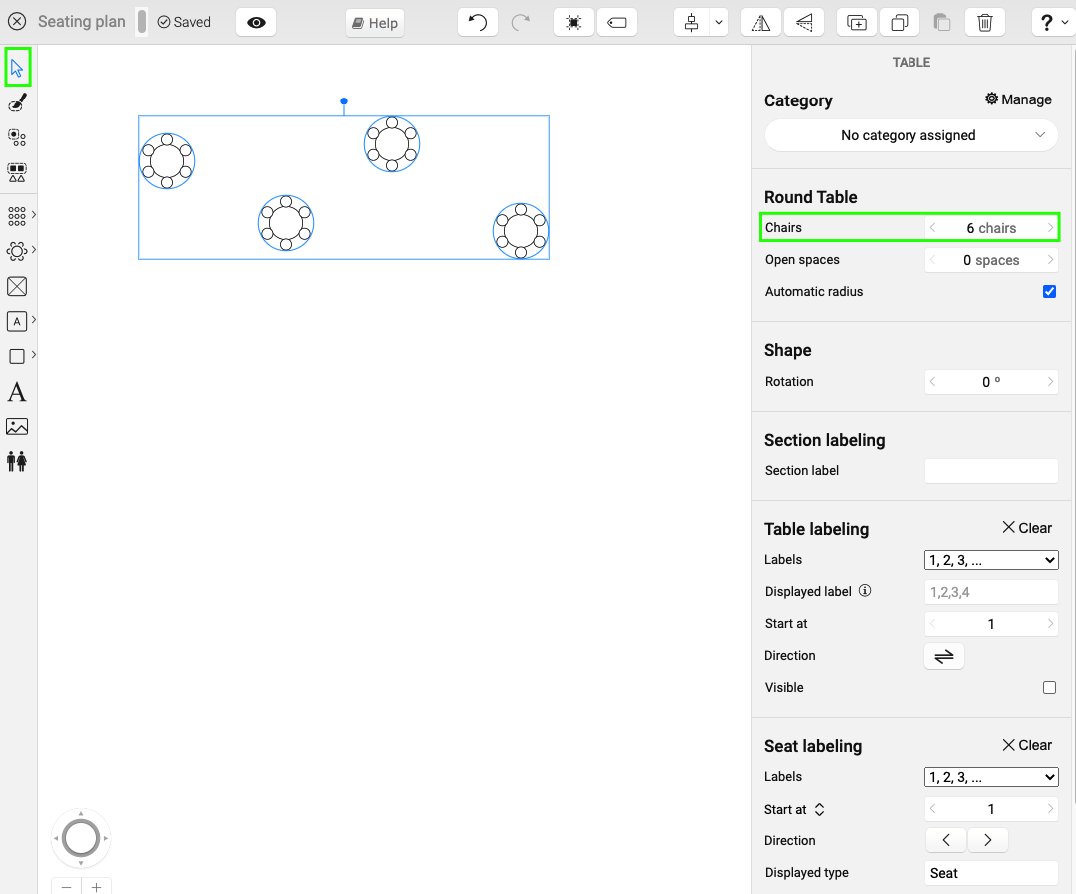
Draw tables without individual seats
If you want the table to be bookable as one unit instead of individual seats, proceed as follows: Activate the option Bookale as a whole.

Name tables
Firstly click on the select tool to the left and then on a drawn table (with or without seats). In the Label field, enter a T before the number (T01, T02). You must complete this step for each table individually.

If you add the tag Seat-label-table-only to an event with a seating plan, only the table designation (e.g. table 1) is displayed on the ticket, when ordering and in the list of participants, rather than the full seat (e.g. table 1, seat 4).
Assign a category to tables
Click on the select seats tool and select the tables to which you want to assign a category. If there is no category present, you can click on edit under category to the right and create a new category. You can then click on the category you have created to assign it to the selected tables.

Area
You can draw an area with the area tool. You can choose between three different shapes: rectangular, elliptical or polygonal.

Then click on the select tool and select the area you have drawn. Give the area a designation in the Label field. For the capacity, select one of the three different types and determine the allotment (capacity in number of seats). Finally, assign a category to the area. You can ignore the field Entrance.

General admission
If, for example, you offer one or more areas with a certain number of standing places at your event in addition to seating, you can designate the area as General Admission.

Fixed occupancy
In the online shop or when selling on-site, all tickets are always booked in total (10 tickets in this example) when selecting an area with fixed occupancy. This means that only one buyer can purchase tickets for a particular area at a time.

Variable occupancy
The variable occupancy function works like the fixed occupancy function, except that you can specify a minimum occupancy as well as a maximum occupancy.The variable occupancy function is suitable, for example, for a dinner in a gondola or an overnight stay in an igloo. As with fixed occupancy, only one buyer can purchase tickets for an area at a time.

In this example, a customer purchases tickets for 2 adults and 1 child. After the purchase is completed, this gondola has been sold out and can no longer be booked.

The variable occupancy may lead to places that cannot be booked, as in the example above. The places that cannot be booked are taken into account when calculating the quota. If you want to change the capacity of a zone that has already been sold, you must first cancel the booking before adjusting the capacity.
Seating plan with sections and levels
If you have selected a seating plan type with sections and levels, you can select the section tool in the toolbar on the left to draw a section (e.g. stalls or balcony). By double-clicking on the section, you enter the section and can draw the seats there as usual.
In order to save the seating plan, you must add at least one section.
 You can add additional levels via the settings at the bottom right.

Here you will find an example of a seating plan with sections and levels.
Seating plan with zones
If you have selected a seating plan type with zones, you can map several larger, physically separated areas using zones.

Here you will find an example of a seating plan with zones.
Texts and shapes
To show the stage on the seating plan, for example, you can click on the rectangle tool on the left and draw a rectangle. You can then click on the text tool and add text to the rectangle. If you select the text, you can change the font, font size, and colour.

Assign infrastructure icon
Predefined icons are available for certain infrastructure elements. To do this, click on the select tool and select the rectangle that has been created. Now click on the desired type of element to the right of the Label. In the Caption field, you can enter a suitable designation.
