Categories in the voucher shop
Categories offer you the option of using vouchers in combination when you purchase from the online shop.
In this article
Here's how the categories in the online shop look
Home page
See the category in this example FLAVORS. The titles of the categories are listed in front of the titles of the individual voucher types. Special offers always appear in a separate upper line.

Detail page
If you select the category FLAVORS, you will be shown a list of the three dedicated gourmet cuisine vouchers in this example.

Set up categories
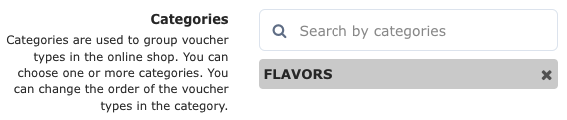
Give the category a suitable name (in all activated languages). The name will appear in the online shop as the title on the home page as well as on the detail page.

Description
Optionally, you can add a description to the category (in all activated languages). The description will appear in the online shop on the detail page.

Publicising
As soon as you click on the grey button and then on the Save button, the category will appear in the voucher shop. The grey button will turn blue.
Optionally, you can choose whether you want the category in the online shop to be hidden.

Please note that a category will appear in the online shop even when there is no voucher assigned to this category. In this case, you will need to manually deactivate the category (switch the button to grey).
Image on home page
Select suitable imagery to match the title on the online shop's home page.
Format min. 335 x 280 px

Image on details page
For the cover picture on the detail page of the category, you have either of three options: same image as home page, different image than on home page (format 1900 x 500 px) or no imagery at all.

Add voucher types
Please note that added voucher types will no longer appear on the home page of the voucher shop.
Via category
Click on the grey button add, to select the voucher types which you would like to assign to the category. A voucher type can be added to several categories

Via voucher type
Change order of voucher types
Use Drag&drop (click on the dots) to alter the listing of the voucher types on the online shop.

Delete voucher types
By clicking on the paper basket, you can remove a voucher type from the category.

- 1
-
In the menu of the e-guma, select the voucher system Settings -> Voucher types -> Categories.
- 2
-
Use drag&drop to define the order of the categories in the online shop (click on the points).

- 1
- In the menu of the e-guma voucher system, select Settings -> Voucher types -> Categories.
- 2
- Click on the category you'd like to delete.
- 3
-
In the top right corner, click on the blue button Delete.
- 4
-
Confirm by clicking on the button Delete.
Please note that after deleting, all voucher types in this category will automatically appear on the home page.

Change category order

Delete categories

Have you checked your adjusted settings in the online shop?
In order for you to be sure that everything looks right in the online shop, we suggest that you check the shop after every setting adjustment you make (click on the button Shop in the header).