Configuration of the integration for Lightspeed K-Series
In this guide, we will show you step by step how to set up the integration for Lightspeed K-Series. If you have any questions, don't hesitate to contact us. We are happy to help you.
In this article
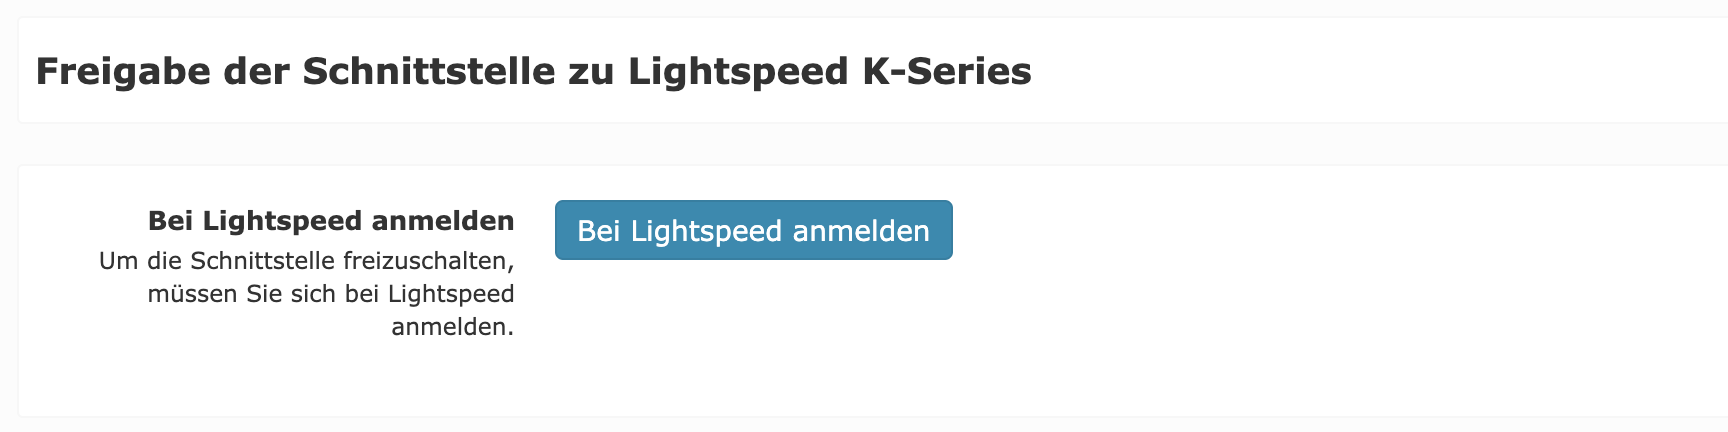
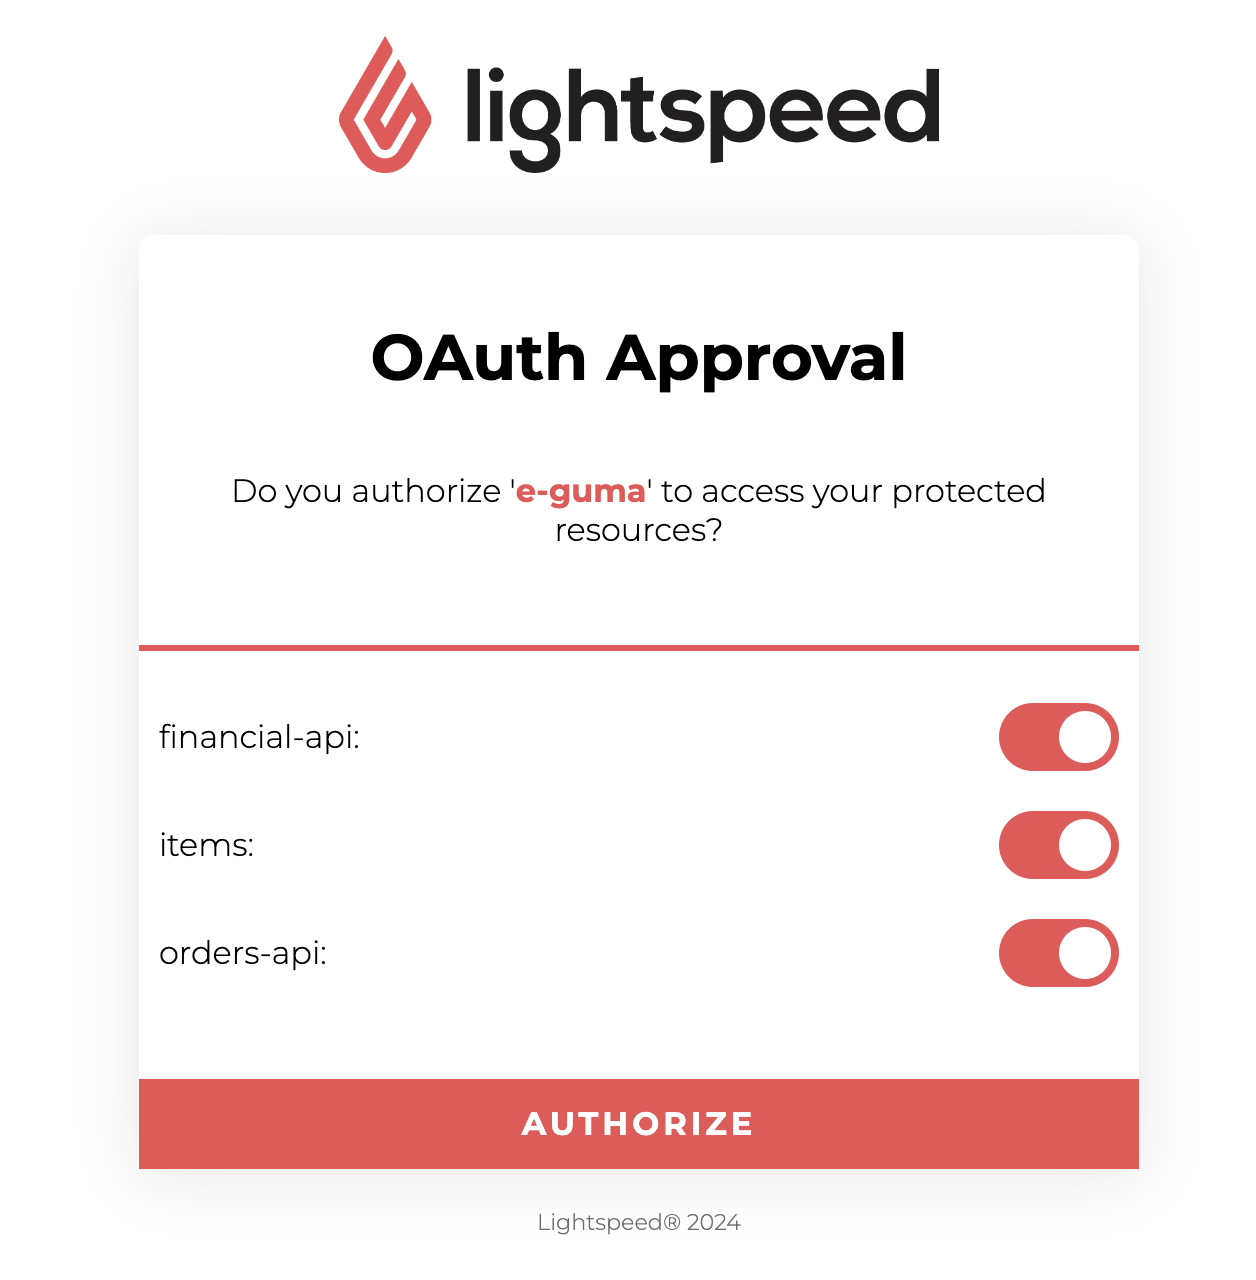
1. Release of the interface

2. Configuration by Lightspeed Support
Subject
Content
We would like to ask you to set up the below configuration.
Business ID: ???
- Code: eguma
- URL: https://api.e-guma.ch/v1/lightspeed/notification
- Version: 2
- Condition language: criteria
- Condition: this.notificationType=='CLOSE'
Please replace the question marks in the email with the appropriate information. You can find these in your Lightspeed Back Office.
Send this email to k-series.support@lightspeedhq.com and CC us (support@e-guma.ch).
The Lightspeed Support team should normally make these settings within 1-2 days. If you need it sooner, you can also contact Lightspeed Support by phone.
3. Configurations in Lightspeed Back Office to redeem vouchers
It is important to wait for the above configuration to be completed by Lightspeed Support before proceeding with this step.
3.1 Add new payment method "Voucher"
Create a new payment method with the following settings:
- Payment method type: Other payment method
- Code: eguma
- Name: Voucher

The code must be eguma.
3.2 Hide the new payment method "Voucher" on the register
The payment method "Voucher" should not appear as a regular payment method. To do this, open the register configurations, select the Payments tab, and click on the payment method "Voucher". The background will change to gray, indicating that the payment method will not appear under the regular payment methods on the register. Then click on Save at the top right.

3.3 Add web extensions
If you have multiple locations in Lightspeed, you need to perform this and the subsequent step for each location.
Create a new web extension under Configuration → Settings → Web Extensions as follows:
- Name: e-guma Vouchers
- URL: The URL will be provided by us.
- Provide a JavaScript context to the loaded page: Yes

3.4 Link Web Extensions to Menu
Add a new main screen e-guma Vouchers under Menu Management → Menus

Next, you can add a new "Web Extension" button:

And select the newly created web extension:

3.5 Reconfigure the Terminals
Update all terminals with the new configuration. If you are also selling vouchers at the terminals, you can wait to update the terminal configuration until you have made these settings as well.
3.6 Configure New Payment Method in the Interface Between Terminal and PMS
If you have an interface between Lightspeed and your PMS, it may be necessary to configure the new payment method for this interface.
4. Configurations in the Lightspeed Back Office to Sell/Top up Vouchers
If you want to not only redeem but also sell and top up vouchers directly at the terminal, make the following settings.
4.1 Create New Product Group "Voucher"
Enter a new product group with the following settings:
- Name: Voucher
- Accounting ID: GS
- VAT Profile: Non-taxed [VAT 0%]

4.2 Create New Item "Voucher"
Enter a new item with the following settings:
- Item Name: Voucher
- Product Group: Select the "Voucher" product group created in 4.1
- Price Type: Manually entered price
- SKU: eguma

- Discounts may be granted for this item: No
- Item may be offered for free: No

Copy the item ID and send it by email to support@e-guma.ch.
The item ID can be found in the URL of the newly created item:

4.2.1 Multiple Locations
 Select the option Shared:
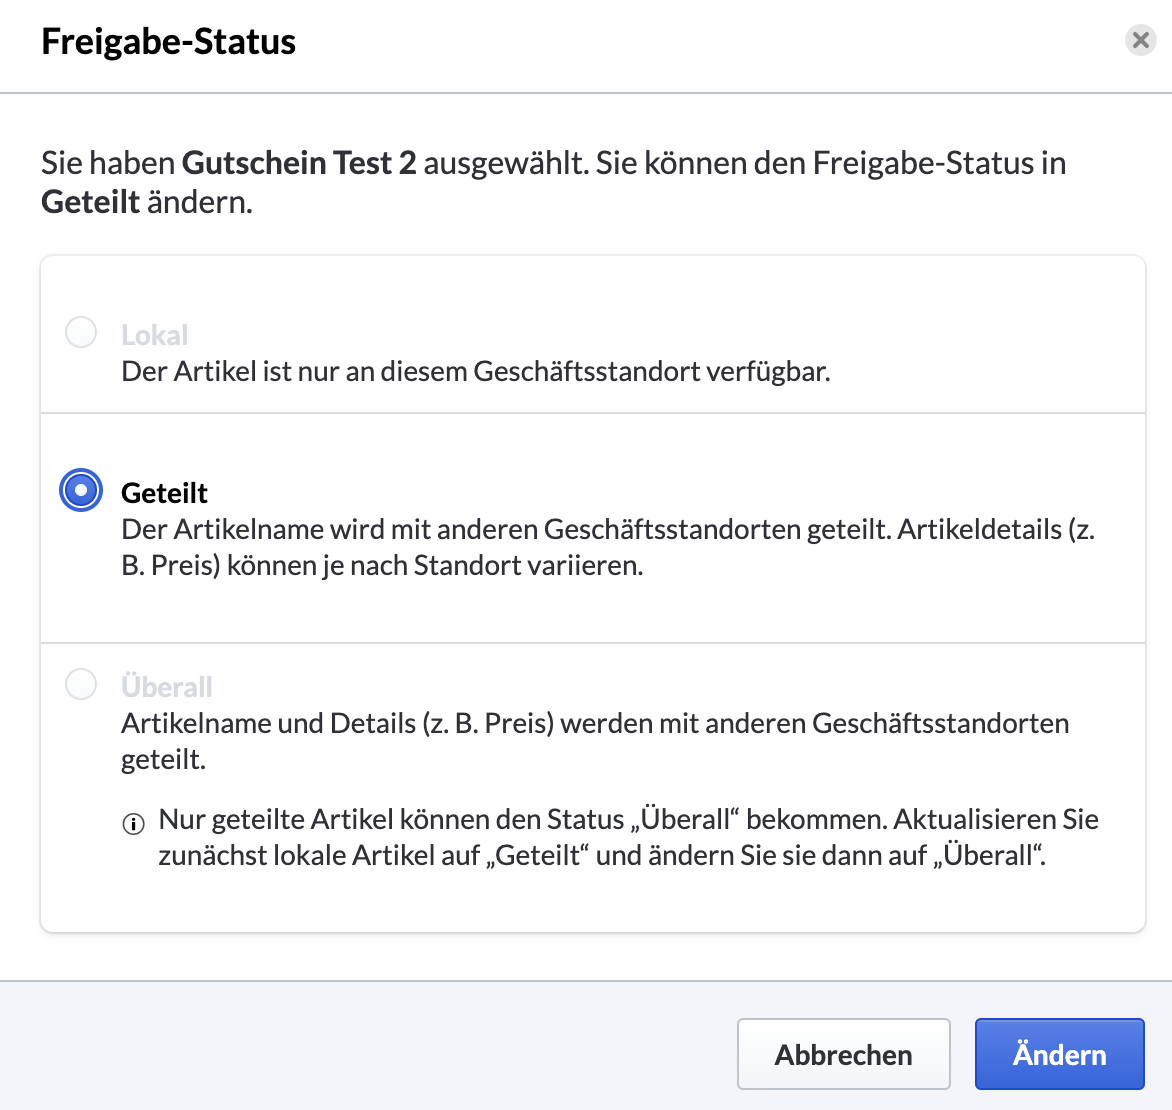
Confirm the change and then open the setting again to select and confirm the status Everywhere:

A separate article for the voucher is created in the background for each location. Please send us the IDs of all voucher articles.
4.3 Reconfigure the Terminals
Update all terminals with the new configuration.
5. Testing
Once the configuration is complete, it is important to test if everything is set up correctly.
If you have **multiple locations** in Lightspeed, perform the tests at each location.
5.1 Redemption
To test the redemption, proceed as follows:
- Issue a Maison voucher in e-guma.
- Redeem the voucher at the terminal and complete the order at the terminal.
- Check if the voucher was redeemed in e-guma.
- Cancel the recently placed order at the terminal.
- Check if the voucher in e-guma has returned to full balance. Now you can delete the voucher in e-guma.
Also ensure that the voucher payment method is not displayed when other payment methods are selected:
